Flashing ESPHome to the Smartmesh 9W CCT Bulb (Part 2)
(Continued from previous post)
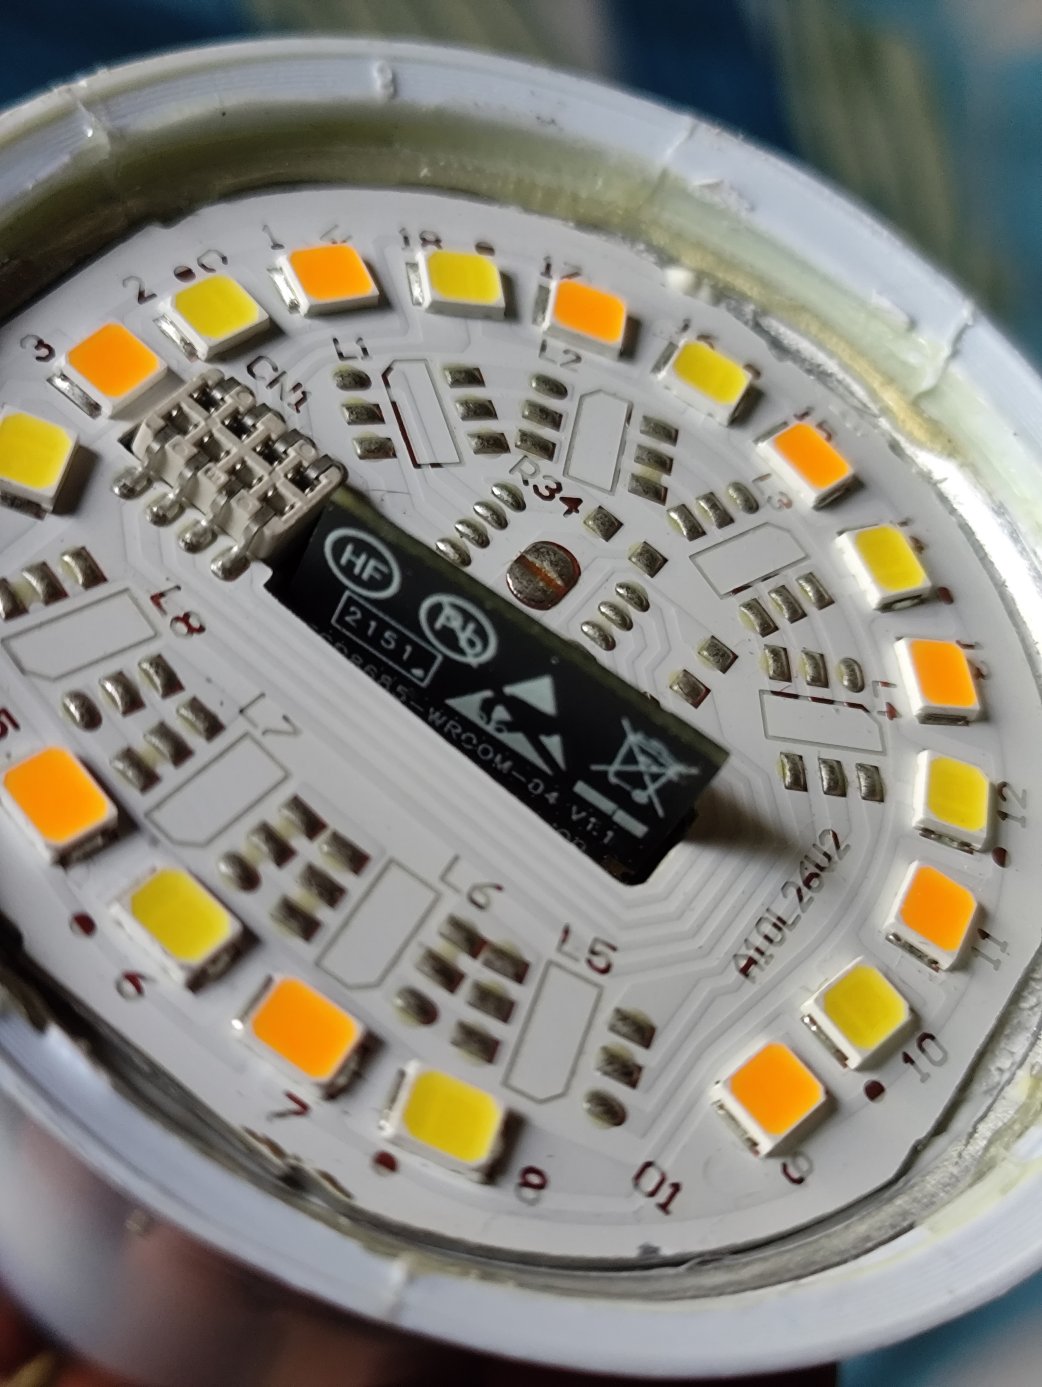
Time to make some changes to the bulb. ESPHome is what I normally use, so I’m going with that.
6 pins in total need to be connected:
- two power rails (3.3V),
- the RX and TX pins,
- gpio8 pulled to VCC (for flashing)
- gpio9 to GND (for flashing)
I have a little harness board to organize the wires.
Because the flash size is tiny (2MB vs normal 4MB), I had to disable some ESPHome features. There is no fallback portal now, so using the bulb elsewhere on another wifi is going to be tricky.
It took some trial and error to get the config right because I didn’t bother tracing the tracks. The BP5936 accepts one PWM channel for brightness, and a second one for color temperature.
final config
esphome:
  name: smartmesh-cct-9w
  friendly_name: smartmesh-cct-9w

esp32:
  board: esp32-c3-devkitm-1
  flash_size: 2MB
  framework:
    type: esp-idf

# Enable logging
logger:
  level: WARN

# Enable Home Assistant API
api:
#  encryption:
#    key: "secretkey"

ota:
  - platform: esphome
    password: "secretpassword"

wifi:
  ssid: !secret wifi_ssid
  password: !secret wifi_password

  # Disable fallback hotspot (captive portal)
  #ap:
  #  ssid: "Smartmesh-Cct-9W"
  #  password: "emergencypassword"

#captive_portal:


# Light config

output:
  - platform: ledc
    pin: GPIO3
    id: out_brightness

  - platform: ledc
    pin: GPIO6
    id: out_temp
    inverted: true

light:
  - platform: color_temperature
    name: "Light"
    color_temperature: out_temp
    brightness: out_brightness
    cold_white_color_temperature: 6500 K
    warm_white_color_temperature: 2700 K
My Home Assistant VM (ESPHome as addon) ran out of space installing the RISC V toolchain, so I had to increase the disk’s size to 24GB from 16GB.
Downsides of taking the bulb apart includes the heat sinking no longer glued in properly, so I don’t want to run it at full brightness unless I fix that.